

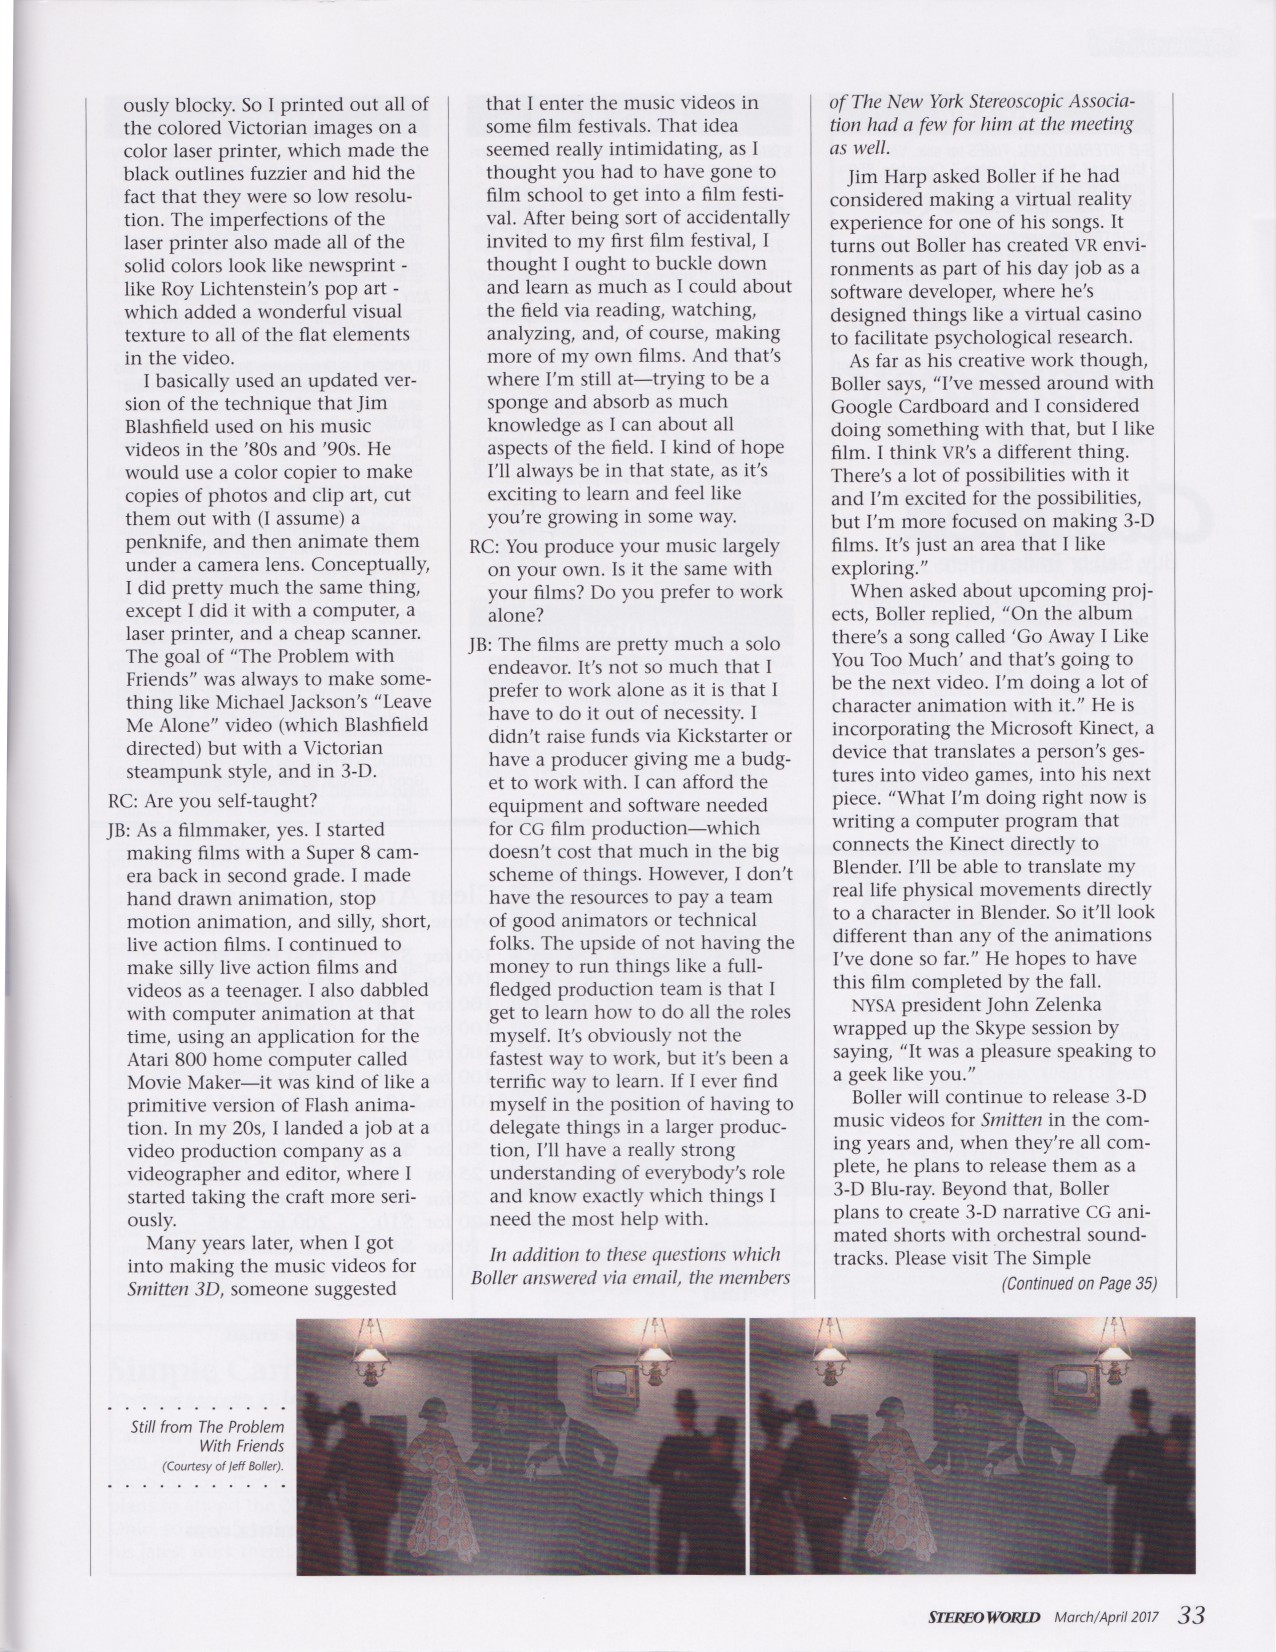
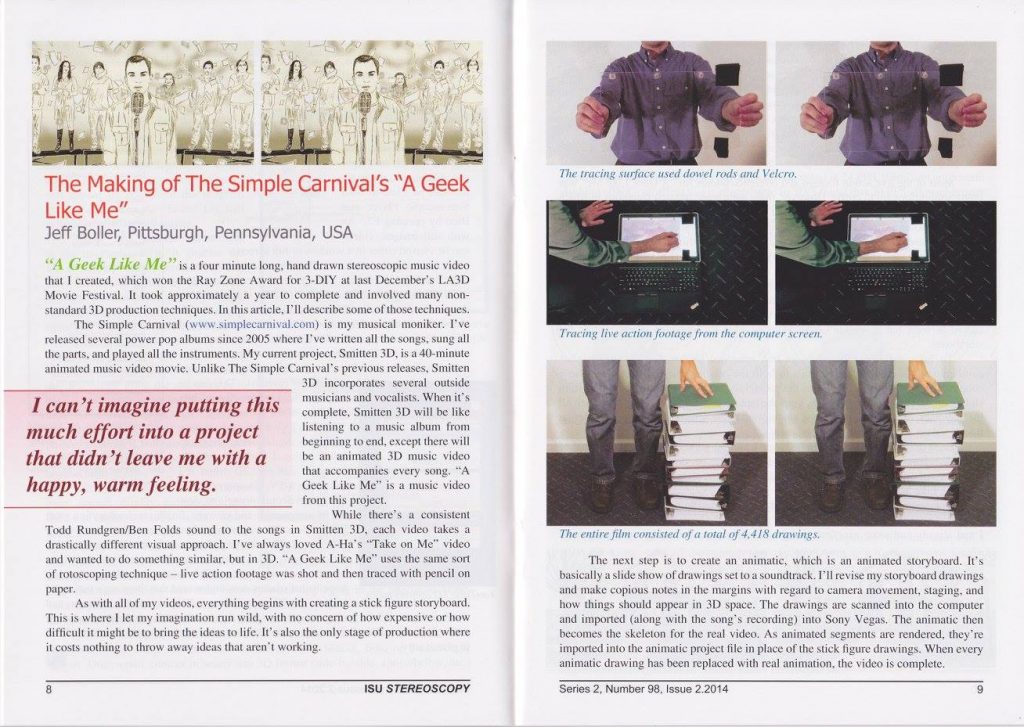
Pinocchio was Disney’s second full-length feature, and in my view, the greatest animated feature ever made. It’s been nearly 80 years since Pinocchio was first released, and neither Disney nor anyone else has been able to top the level of artistry and sheer entertainment in this film. I can’t think of another animated feature that so skillfully seduces the viewer with sweetness and gentle humor, only to gradually descend to some very dark places while keeping the audience along for the ride. (If released today, Pinocchio would probably be slapped with a PG-13 rating.) Eventually, the film builds to the most thrilling, emotional animated sequence that I’ve ever seen, where everything — from the story to the animation to the draftsmanship to the music — is firing on all cylinders.
 The thrilling sequence I’m referring to is, of course, the Monstro the Whale sequence. It’s a sequence that never fails to make me misty-eyed — not just because it’s where all of the film’s themes come together, but because I can’t believe that human beings actually drew something this beautiful! It’s my favorite example of what can happen when a group of brilliant artists working at the peak of their powers collaborate toward a common goal. The result is greater than what any of the individual artists could have accomplished on their own.
So as a self-taught animator who wants to learn everything about the craft, this is a sequence that I feel compelled to study inside and out. I own the Pinocchio blu-ray, and it’s fine. I mean, I have lots of animation on blu-ray, and I’ll set aside time where I’ll watch an animated film and step through certain sequences frame-by-frame to pick apart how it was done. But it takes a special sort of effort to say, “I’m now going to sit down and spend a few hours analyzing something.” If I have a few hours of uninterrupted time, I am more apt to work toward making something rather than analyzing something, because uninterrupted time is a precious thing.
In any case, I wanted to find a way to analyze animation when I had, say, five minutes free. (I find that I have a lot of five minute pockets of time when I’m waiting for my computer to do something.) Five minutes isn’t enough time to start up a blu-ray and find a sequence I want to analyze. It’s not even enough time to open a file on a supplementary laptop and go through it frame-by-frame. All of that involves too much context switching and requires just enough technology to make it a potential headache. Instead, I wanted to find a way to make it so easy to analyze animation that it would be almost stupid if I didn’t do it. And I wanted to find a way where I could pick up right where I left off when I had another five minutes to wait.
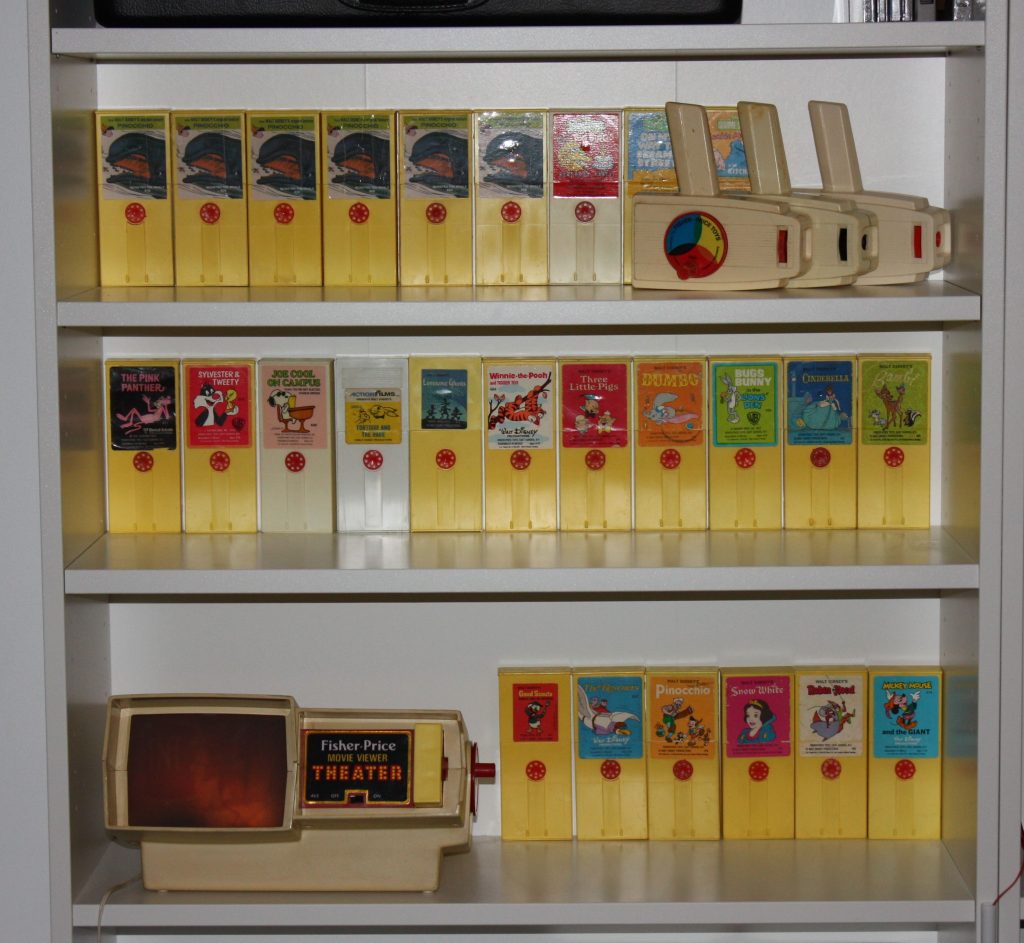
It occurred to me that a toy from my childhood, the Fisher Price Movie Viewer, was the perfect tool for this application.
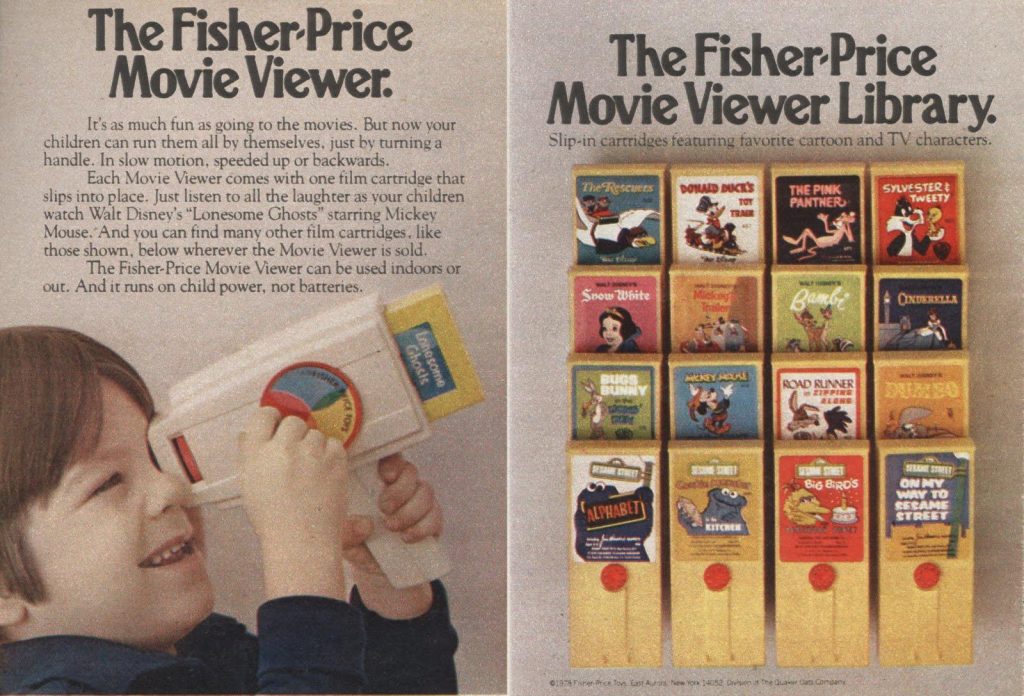
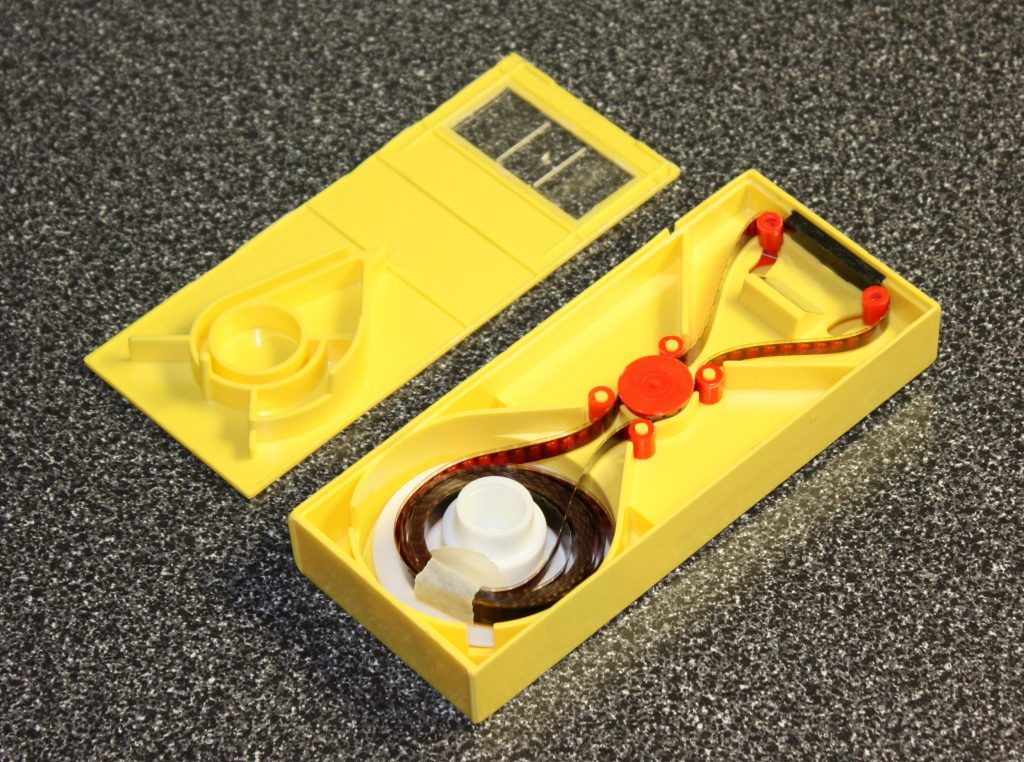
The Fisher Price Movie Viewer — first introduced in 1973 and still manufactured to this day — plays a short Super 8 film housed inside of a cartridge. The person using the Movie Viewer points the toy toward a light source like the sun or a lamp, looks through the eyepiece, and turns a crank clockwise. It doesn’t use any batteries; all that’s needed are two hands, a light source, and an eye.
Inside each cartridge is a loop of silent Super 8 film which, when cranked to the end, will start the film over again from the beginning. Using the crank, you can play the film fast or slow, or click through the frames one at a time — kind of like looking at individual pages in an animated flip book (except with many more pages than the average animated flip book). When you turn the crank in a counterclockwise direction, the film plays backwards. That’s the extent of the Movie Viewer’s capabilities, but it also happens to be all that’s needed to analyze animation.
So my first step was to go to eBay and acquire a bunch of these cartridges. If you’re into classic hand-drawn animation, nearly every cartridge produced for this toy has something to offer: animation by Disney’s Nine Old Men, classic Looney Tunes, Marvel superheroes, Peanuts TV specials, The Pink Panther, independent 1970s animators (by way of Sesame Street), and, if you’re so inclined, Disney’s Gummi Bears.
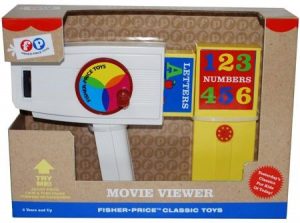 Nowadays, there are only two generic-sounding cartridges being manufactured for the Movie Viewer — one cartridge is called Numbers and the other is called Letters. While I haven’t seen either of these films, my guess is that they would not be of much interest to the modern animator unless you really need some help with your numbers or ABC’s. That means that all of the cartridges that an animator might find interesting were manufactured somewhere between 1973 and 1987. And almost all color Super 8 film manufactured between 1973 and 1987 is currently faded — often with a reddish tint. Occasionally I will acquire a cartridge that has vibrant, accurate colors; but this is the exception instead of the rule. Regardless, my intent was to study the animated action contained within these films, not the color schemes.
 And I would be remiss if I didn’t mention that the films inside the Movie Viewer cartridges are not exactly the same animation from the original source material; silent Super 8 film usually runs at 18 frames a second, not 24 frames per second like theatrically-produced animation. So the cartridge animation tends to be slightly choppier because there are missing frames compared to the source material. Nonetheless, it’s still really educational for catching most of the animated brilliance of these original films.
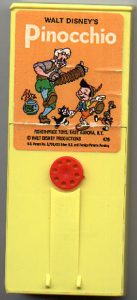
Fisher Price used to sell a Pinocchio cartridge, but it contains action from the beginning of the film, where Pinocchio first comes to life. It doesn’t contain footage from the epic ending where Pinocchio and company are being chased by the whale. To get this footage, I once again turned to eBay and discovered that Disney used to sell a Super 8 film reel containing solely the Monstro the Whale sequence. And, if my eyes aren’t deceiving me, I’m pretty sure this film is actually at 24 frames per second — the exact same frame rate as the theatrical release. No choppiness there at all.
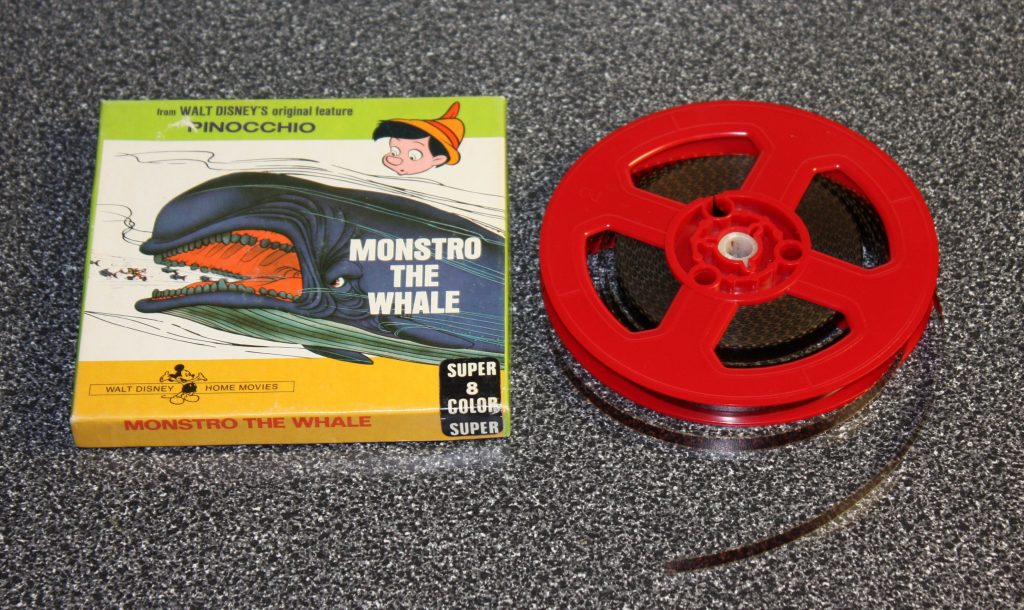
This project happened to dovetail nicely with another project where I was restoring my family’s Super 8 and 8mm home movies. Since I had a Super 8 film scanner handy, I ran the Monstro film through the scanner to make a video file. Then I analyzed my favorite moments in the computer so I knew which segments I wanted for my Movie Viewer cartridges. Given that nearly all professionally-produced Super 8 film is old, the Monstro the Whale sequence had a serious red tint…but again, it’s the animation I wanted to analyze, not the color scheme.
I cut up and spliced together the most interesting film segments into 12 foot strips. I already had a Super 8 splicer and film cement from my home movie restoration project, so I pried open some duplicate cartridges and replaced the original film with newly-created loops from the Monstro film.
I’m not going to lie — it wasn’t easy to pry open cartridges or get the film to behave once it was in the cartridges. Mechanically speaking, these cartridges combine the worst aspects of film and 8 track tapes; you really do not want to perform this sort of delicate surgery unless you have a lot of patience and you really, really want the end result. And I really wanted the end result.
If you’re interested in assembling some custom Movie Viewer cartridges, here are some instructions on how to start. I disagree with one suggestion in that link, however — ignore the advice to break the tab that limits the cartridge to hold only 12 feet of film. From what I can tell, this tab is important to separate the film loop from the film; without the tab, the film will likely tangle upon itself when you crank the film backwards.
Here are some additional tips that I learned through trial and error:
- Be very careful when prying open a cartridge. I used a combination of jeweler and regular-sized flat head screwdrivers, a hammer, and iPod-prying tools to slowly work my way around the cartridge seam. Wear eye protection, as the yellow plastic has likely become brittle over the years and may fly in unpredictable directions.
- When opening up a working cartridge, immediately “preserve” the loop by using masking tape to hold the loop together. (See the above photo for an example of taping the loop.) Refer to the image orientation and direction of the film when assembling your own loop.
- Try to make your loop the same size as the original one you pulled from the cartridge. Don’t try to stuff more than 12 feet of film into the cartridge. Or if you have a loop of film from a cartridge that you don’t mind unwinding, don’t make your film any longer than that. Believe me, I’ve tried. The Movie Viewer cartridges appear to be engineered to a strict specification and will show no mercy if you try to bend the rules.
- Use masking tape to hold the loop together while creating the final splice. The last thing you want is for the loop to become too small or too big…or to simply unravel.
- While film cement is the “right” way to splice these films, if the film happens to be using a polyester film stock, film cement will not work. Super glue can work in those situations.
- When you have the cartridge open, check to see if the silver reflector needs to be re-glued. If the cartridge is old, it’s very possible that the glue behind the silver reflector will have lost its effectiveness. A dab of super glue behind the reflector will keep the reflector in place for another forty years.
- Use a few dabs of super glue along the edges of the cartridge to seal the lid back up once you’re sure that the cartridge plays correctly in a viewer.
Taking it to the Next Level
So if you’ve gone through the hassle of installing custom film inside of your Movie Viewer cartridges, what’s next? Creating custom labels for your cartridges, of course!
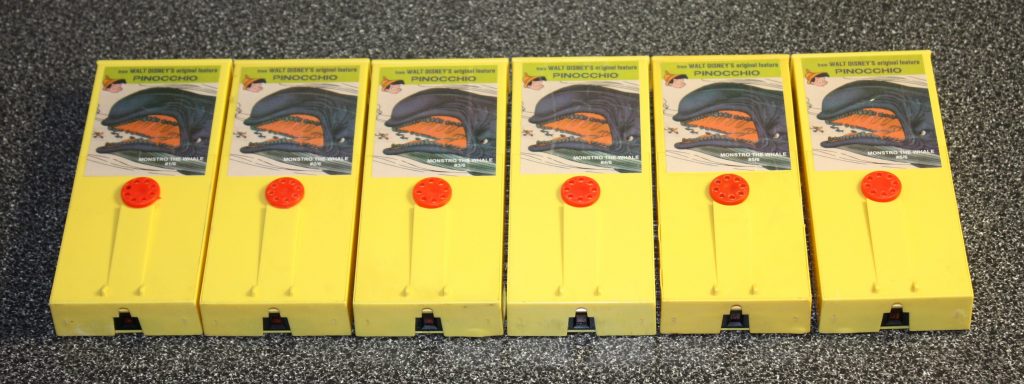
I removed the original labels with Goo Gone, created new labels in the computer, printed them out on label paper, then applied packing tape over top of the label as a sort of laminate. Then I took a paper cutter and cut the labels to the proper dimensions.
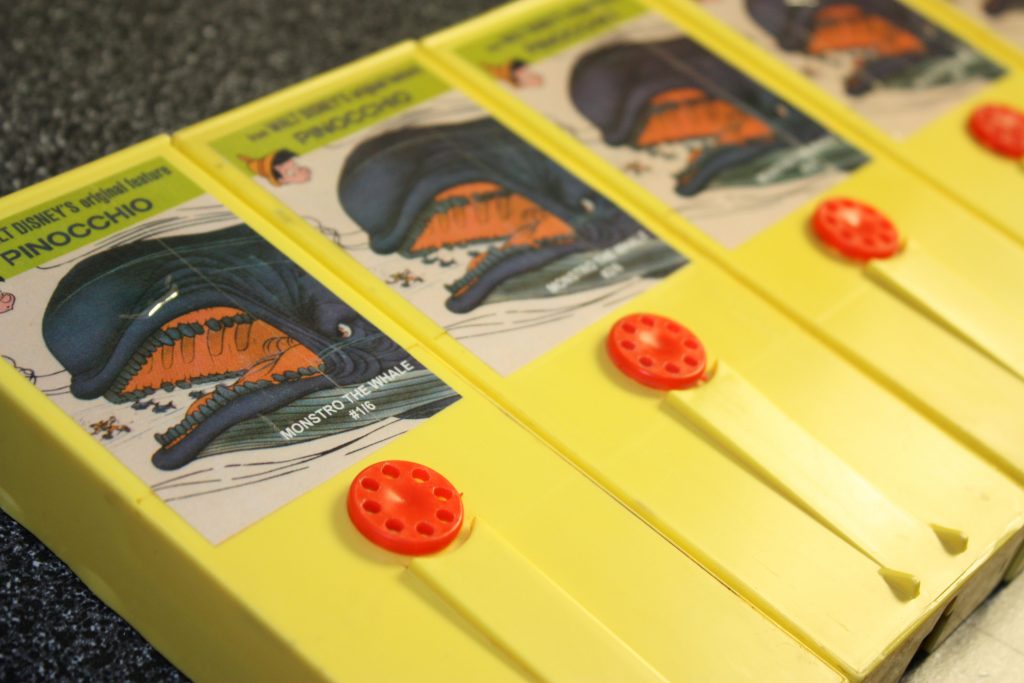
My six Monstro the Whale bootleg cartridges now sit proudly next to the official Fisher Price releases. And since all of my Movie Viewer gear is located near my computer, it’s almost a reflex to pick up a cartridge and watch it when my computer tells me that it’s processing something. As an added bonus, the Fisher Price Movie Viewer makes a great conversation piece when people visit my studio. Everyone appears to enjoy playing around with the Movie Viewer cartridges once they realize what they are.
When I was a kid, I spent many hours using the Fisher Price Movie Viewer to analyze my Mickey Mouse, Pink Panther, and Peanuts cartridges. I must have been subconsciously preparing for my later-in-life detour into animation. I wonder how many other people got their start in animation with this deceptively simple little toy?
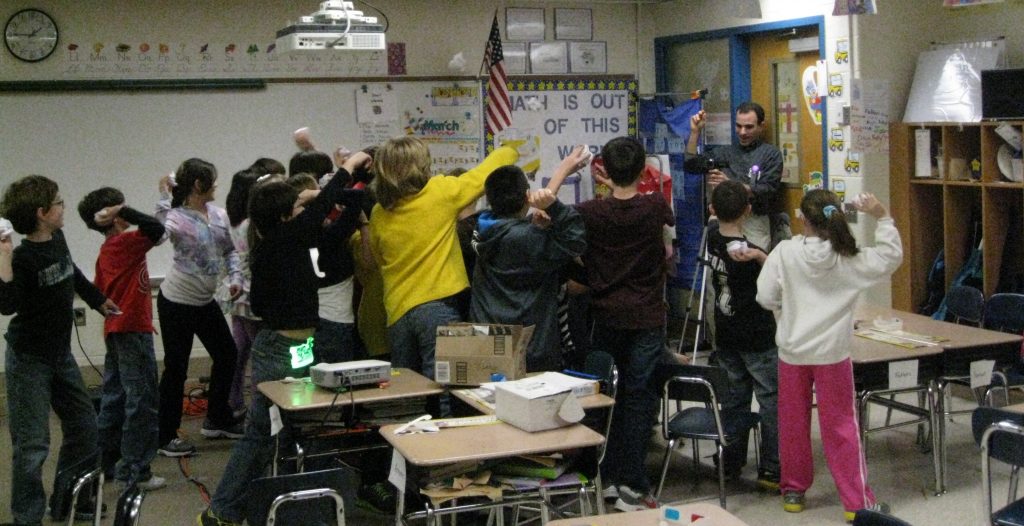
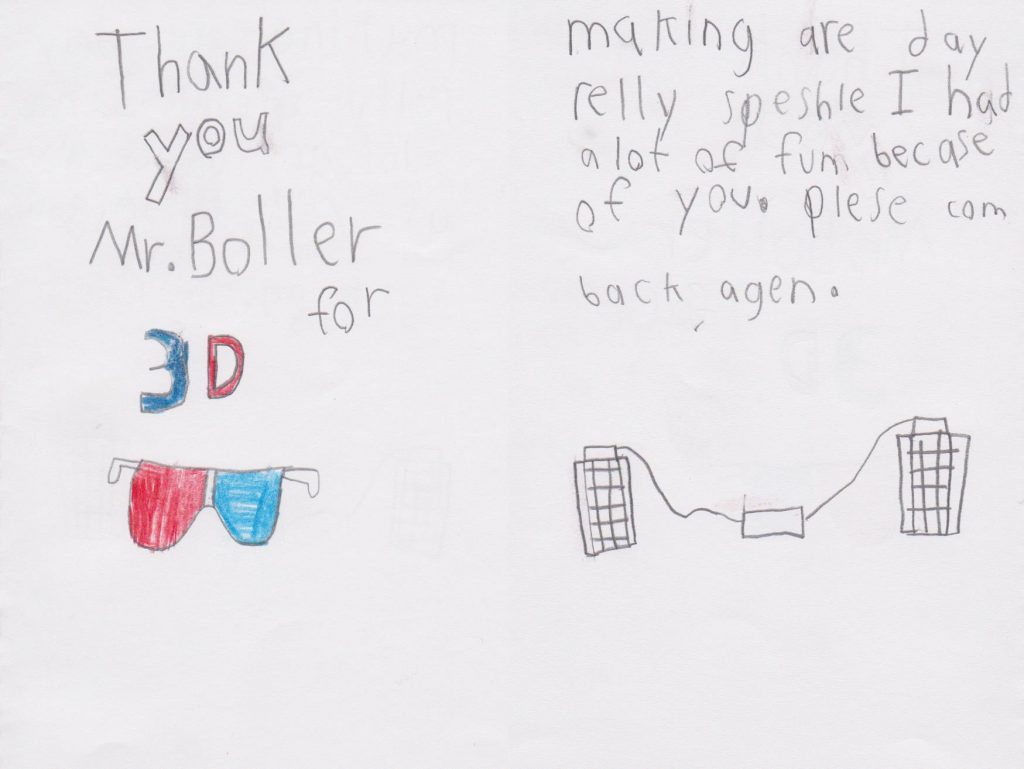
 I began by conducting these workshops for free. I called up venues, told them what I wanted to do, and insisted that I do it for free because I wanted the opportunity to improve my public speaking skills. (Over time, my public speaking skills did indeed improve. Although I have never attended a Toastmasters meeting, I can’t imagine how it could be more fun than running my own traveling multimedia extravaganza.)
 After some appreciative venues insisted that I should be paid for my efforts, I realized that I could actually turn what I was now calling 3D for Kids into a source of income.
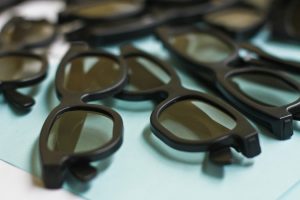
 For example, I usually spent ten hours preparing and packing for a 3D for Kids workshop, two hours driving to the venue and setting up, two hours tearing down and driving home, and another three hours putting equipment away. So that’s seventeen hours — not including the actual workshops, which might take anywhere from one to eight hours — where I wasn’t making anything. This was in addition to having a full time job…and in addition to having a wonderful family that, naturally, required love and attention. To utilize the little bit of free time that I had left over for anything other than making things seemed…wrong.


")

")


 So…two bits of news:
 Here’s an article I wrote about a 3D effect called “retinal rivalry.” It was published in the latest issue of
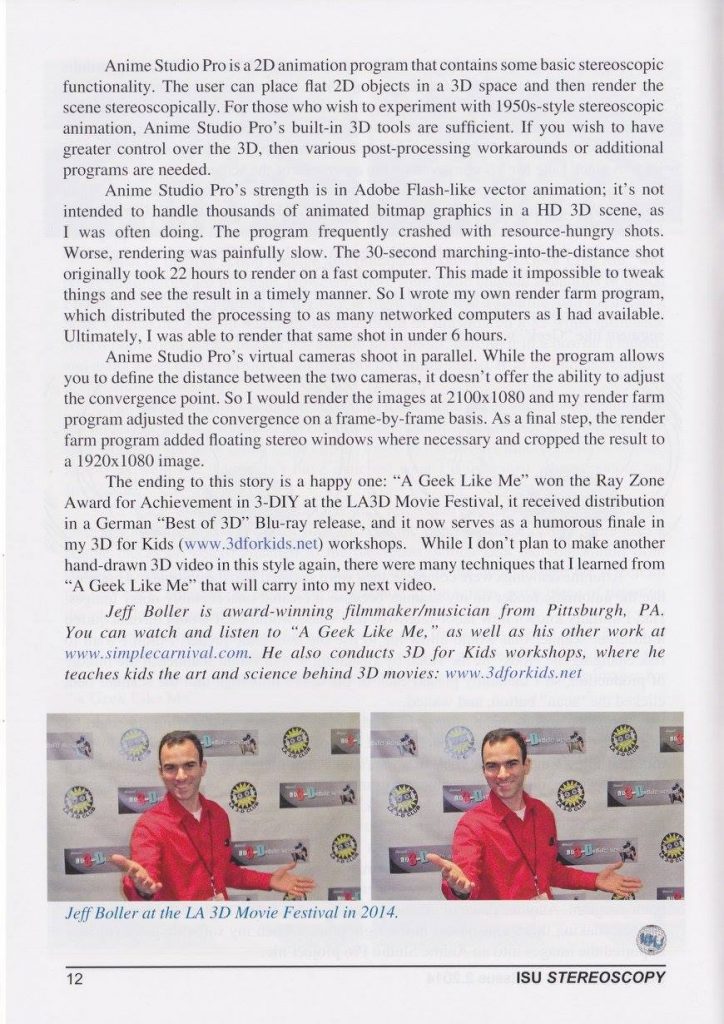
 Woah! Just noticed that “A Geek Like Me”
  Thanks to